

Quick Takeaways
- Someone with admin rights has to grant you Full Access or Send As permission before you can add a shared mailbox.
- The steps differ across new Outlook, classic Outlook, Outlook for Mac, and Outlook on the web.
- New Outlook usually adds a mailbox you have access to on its own within about an hour. If it doesn’t, you can add it manually in under a minute.
- A shared mailbox under 50 GB doesn’t need its own licence. Go over that and you’ll need an Exchange Online Plan 2 licence.
- If the mailbox won’t show up, the fix is almost always a permissions delay, a caching setting, or a restart.
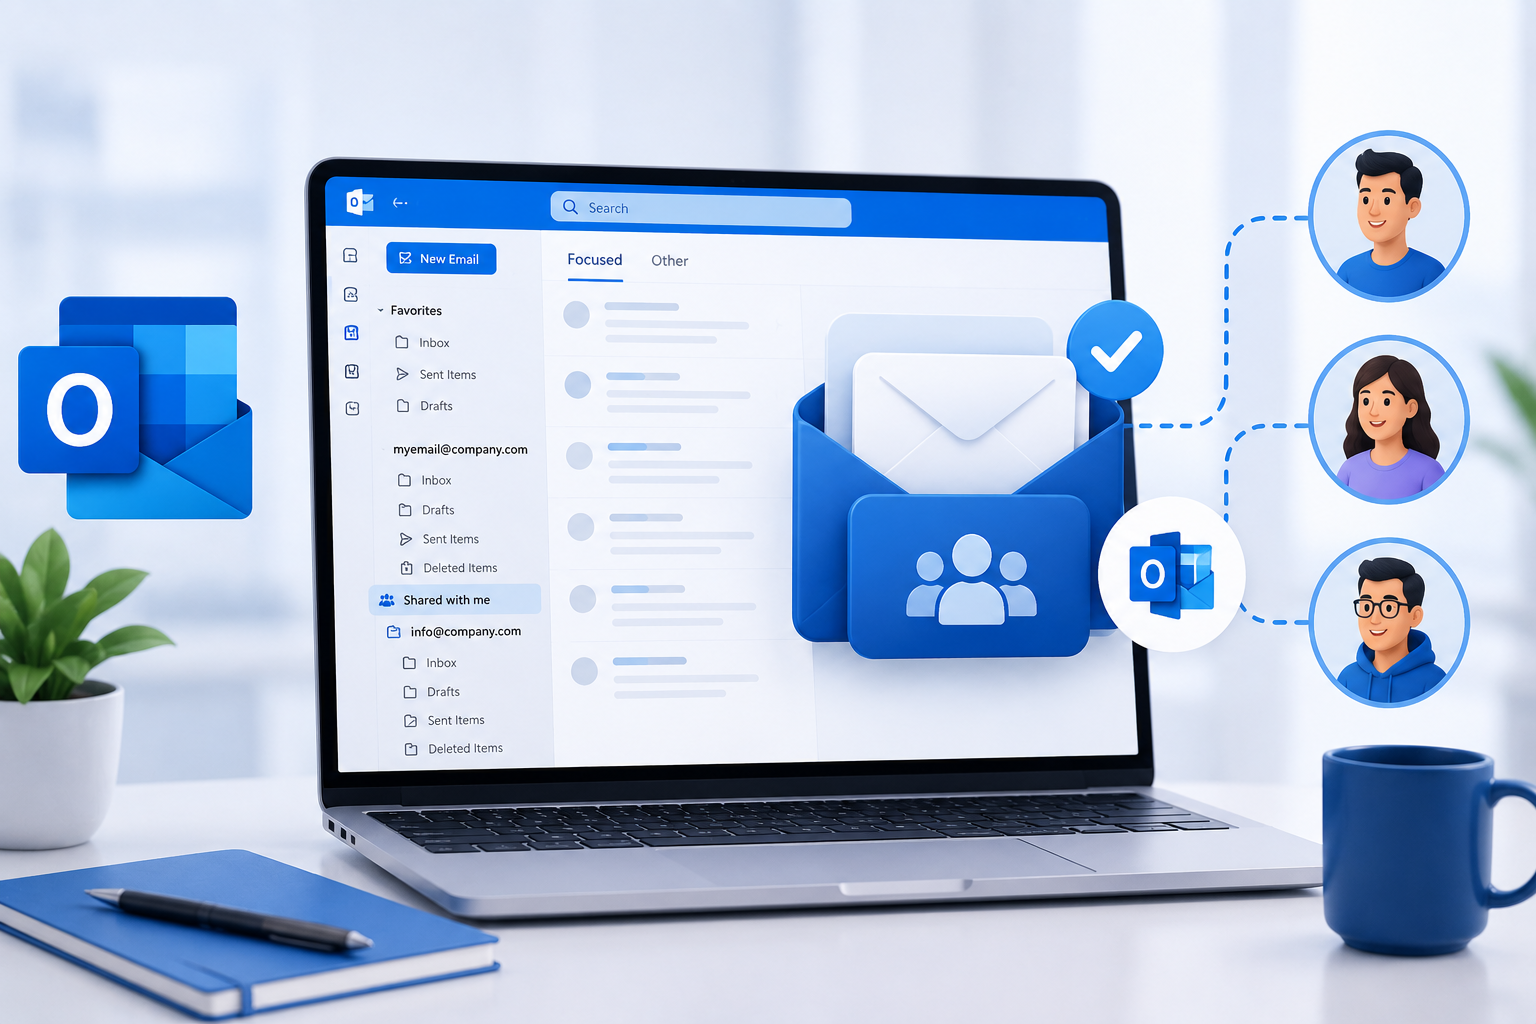
A shared mailbox is defined as an email account, such as info@yourcompany.com, that several people can send and receive from without each person needing a separate licence. It sits apart from anyone’s personal inbox, so replies and history stay visible to the whole team instead of one person’s sent folder.
What Is a Shared Mailbox (and Why Use One)?
A shared mailbox works for teams that answer email as a group rather than as individuals: support desks, sales inboxes, HR, or a general “info@” address. Anyone added to the mailbox can read, reply, and send from it, and everyone sees the same conversation history.
Most people assume they need a full email licence for each shared account. According to Microsoft’s own documentation, that’s only true past a certain size: a shared mailbox stays free to use as long as it holds under 50 GB. Cross that line, turn on litigation hold, or enable in-place archiving, and the mailbox needs an Exchange Online Plan 2 licence attached.
There’s a practical ceiling too. Microsoft caps concurrent access at 25 users per shared mailbox. Add more than that, and people start getting intermittent connection failures or duplicate messages in the outbox. For a busy support team, that’s worth planning around before you add the tenth or twentieth person.
Before You Start: Permissions You’ll Need
You can’t add a shared mailbox to Outlook just by knowing its address. The mailbox owner or an IT admin has to grant you one of two permission types first:
- Full Access — lets you open the mailbox, read, and organise its folders.
- Send As or Send on Behalf — lets you send mail that appears to come from the shared address.
Once access is granted, Microsoft’s automapping feature is supposed to add the mailbox to your Outlook automatically, usually within an hour. Automapping only works for individual users, though. If your admin granted access through a security group instead of your own account, the mailbox won’t appear on its own, and you’ll need to add it manually using the steps below.
How to Add a Shared Mailbox in Outlook for Windows
New Outlook
To add a shared mailbox: 1. Right-click your account name (or the three dots next to it) in the folder pane. 2. Select “Add shared folder or mailbox.” 3. Type the mailbox’s name or address and pick it from the list.
If your admin has already added you as a member and you just want to wait it out, close and reopen new Outlook. The mailbox typically appears under “Shared with me” without you doing anything else.
If it still isn’t there after a restart, add it by hand:
- Open the Mail view.
- Right-click your account name (or click the three dots beside it) and choose Add shared folder or mailbox.
- Start typing the mailbox’s name or email address. Outlook will suggest matches as you type.
- Select the correct mailbox and click Add.
It’ll show up as a subfolder under Shared with me. Click it to expand the inbox, drafts, and sent items just like you would for your own account.
Classic Outlook
The classic client uses a longer path through Account Settings:
- Open Outlook and go to File.
- Click Account Settings, then Account Settings again from the dropdown.
- Select your email account and click Change.
- Click More Settings, then open the Advanced tab.
- Click Add, and type the shared mailbox’s name or address.
- Click OK, then OK again, Next, and Finish.
- Close the Account Settings window and restart Outlook.
This can take a few minutes to sync, and Outlook may briefly stop responding while it does. Leave it alone rather than force-closing it.
How to Add a Shared Mailbox in Outlook for Mac
On a Mac, you don’t add the shared mailbox through account settings at all. Instead:
- With Outlook open, click File in the menu bar.
- Choose Open, then select Shared Mailbox from the submenu.
- Start typing the shared mailbox’s email address.
- Select it from the list and click Add.
Outlook checks your permissions in the background and adds the mailbox to your account list once it confirms you have access. If you don’t have Full Access yet, this step will fail silently, so double-check with your admin before assuming something’s broken.
How to Add a Shared Mailbox in Outlook on the Web
Outlook on the web doesn’t display shared mailboxes by default, even after permissions are granted. You have two options.
To view it as a folder under your own account:
- Log in at outlook.office.com.
- Right-click Folders in the left pane (or click the three dots beside it).
- Select Add shared folder or mailbox.
- Type the name or address and click Add.
To open it in its own window instead:
- Click your profile picture in the top-right corner.
- Choose Open another mailbox.
- Enter the shared mailbox’s address and click Open.
The second option is worth using if you manage a mailbox’s calendar or rules directly and don’t want it cluttering your primary folder list.
| Option | Best For | Key Benefit | Limitation |
| New Outlook (auto) | Everyday members | No setup needed | Can take up to an hour to appear |
| Classic Outlook | Windows users on older builds | Familiar Account Settings UI | Longer setup, brief freezes during sync |
| Outlook for Mac | Mac users | Simple File > Open flow | Fails silently without permissions |
| Outlook on the web | Quick or occasional access | No install, works anywhere | Doesn’t persist across devices automatically |
Sending Email From a Shared Mailbox
Once the mailbox is added, sending from a shared mailbox takes one extra click. Start a new email, and if you don’t see a From field, go to Options and select From (or Show From in new Outlook) to reveal it. Click the field, choose the shared address from the dropdown, and send as normal. Recipients will only see the shared address, not your personal one.
Replying works the same way: if the message was sent to the shared mailbox, the From field should already default to that address. If it doesn’t, switch it manually before hitting send.
Shared Mailbox Not Showing Up? How to Fix It
This is the most common complaint after setup, and it’s rarely a real fault. Work through these in order:
- Give it time first. Automapping can take up to an hour, sometimes longer across a large organisation. Restart Outlook once before troubleshooting further.
- Check how you were granted access. If an admin added a security group rather than your individual account, automapping won’t trigger. You’ll need to add the mailbox manually, as covered above.
- Remove and re-add it. Right-click the shared mailbox folder and select Remove shared mailbox, then add it again using the manual steps for your platform.
- Turn off Cached Exchange Mode temporarily. Go to File > Account Settings > Account Settings, double-click your account, click More Settings, open the Advanced tab, and uncheck Use Cached Exchange Mode. Apply the change and restart. This resolves folder-sync mismatches for mailboxes that were added a while ago.
- Check for a hidden rule or private-item setting if specific emails (not the whole mailbox) are missing. Messages marked “Private” by the sender won’t display in a shared inbox for anyone but the sender, by design.
If none of that works, the mailbox may be hidden from the address list on the admin side, or the OAB (offline address book) hasn’t refreshed yet. That’s a job for whoever manages your Exchange environment, not something you can fix from your own Outlook settings.
Common Questions
What’s the difference between a shared mailbox and a distribution list?
A distribution list forwards a copy of each email to every member’s personal inbox. A shared mailbox holds one copy that everyone accesses together, so there’s a single, shared record of every reply.
How do I know if I have permission to open a shared mailbox?
Try adding it using the steps above. If you don’t have Full Access, the add will either fail or show an empty mailbox with no way to open folders. Ask your admin to confirm your permission level.
Why can’t I add my shared mailbox as a full account with its own password?
Shared mailboxes are blocked from direct sign-in by default. Microsoft’s guidance is to keep sign-in disabled and access the mailbox only through the permissions granted to your own account.
Should I use Send As or Send on Behalf?
Send As makes your messages appear to come entirely from the shared address. Send on Behalf shows both names, for example “Jordan on behalf of Support.” Pick Send As for a consistent team voice, and Send on Behalf when accountability per message matters more.
Can external clients or vendors access our shared mailbox?
No. Shared mailboxes only work for accounts inside your own organisation. To share an inbox with someone outside it, you’d need a different setup, such as a Microsoft 365 group with guest access.
Related Reading
Once your shared mailbox is set up, most teams run into questions about managing Outlook day to day. For more Outlook tips and settings guides, you can also learn how to change the default browser in Outlook if your email links keep opening in Microsoft Edge.